NOVEMBER 2020
Thoughts about Solar Imaging
[This is just one of many articles in the author’s Astronomy Digest.]
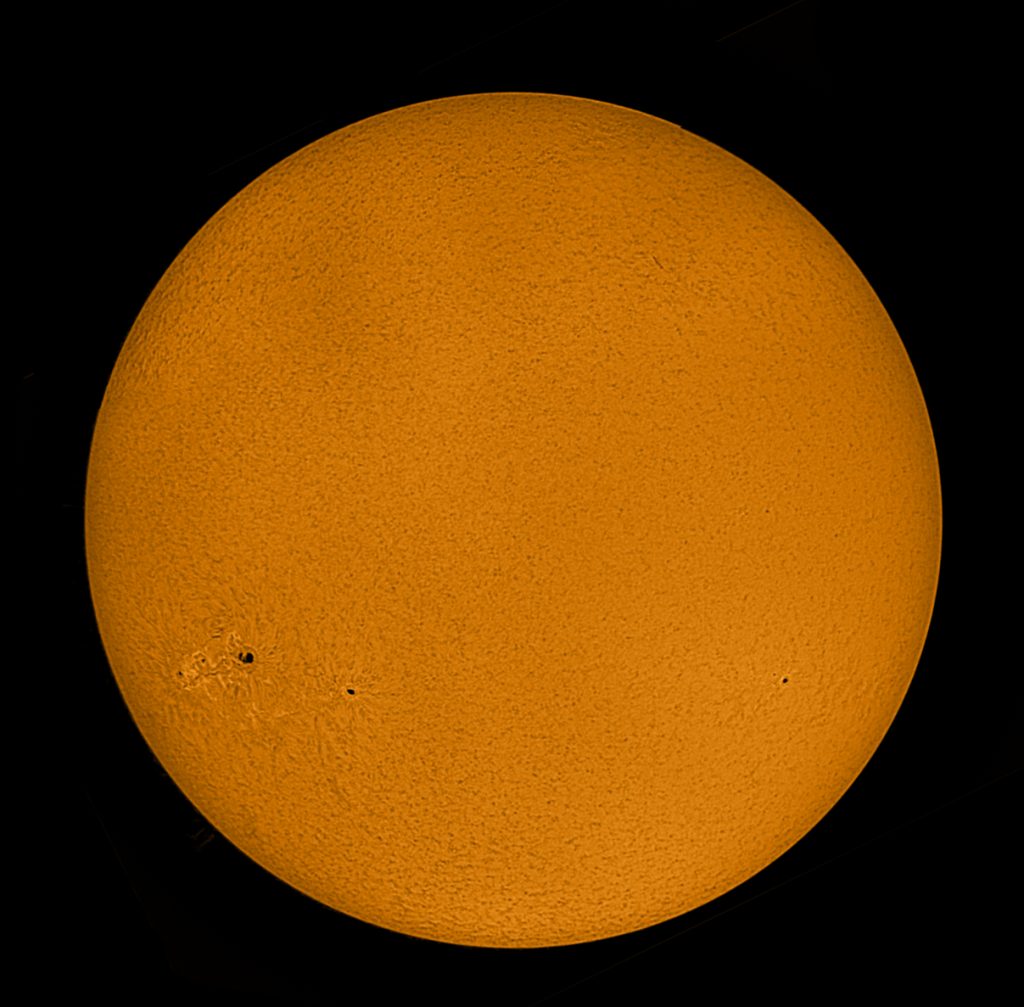
As I write at the end of November 2020, the first sunspot groups of solarcycle 25 are now appearing in the Sun’s southern hemisphere. It thus seems an appropriate time to sharesome thoughts about imaging the Sun in both white light and that of the deepred H-alpha emission. The picture belowshows my ‘solar observatory’. A 102 mmfluorite doublet refractor and Lunt 60 mm H-alpha telescope are mounted inparallel on a sturdy equatorial mount. To shield the laptop carrying out the video captures from direct sunlightis a foldable ‘cab hood’ having a blackened interior. This is a ‘BeMatik Cab Hood’ available from Amazon at a cost of ~£44 which can hold a 15 inch laptop.
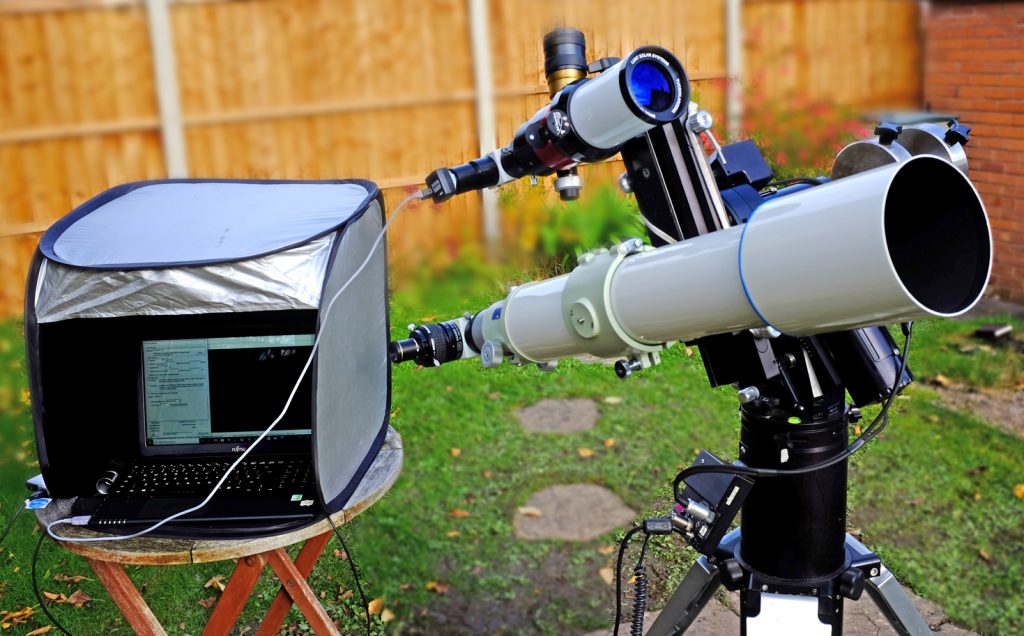
The monochrome webcam used for solar imaging, seen attached to a Lunt Solar Scope, is a Point Grey USB2 Chameleon employing a Sony 1/3rd sensor having 1.3 megapixels.
White light imaging
The cheapest way to image the Sun in white light is to use aDSLR or mirrorless camera and a refractor equipped with a Baader (or other)solar filter.
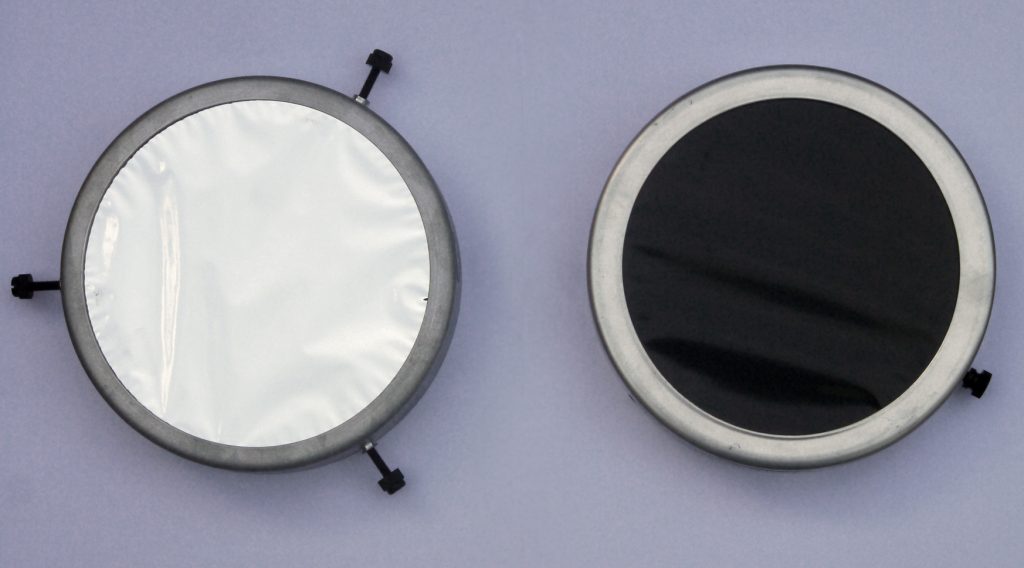
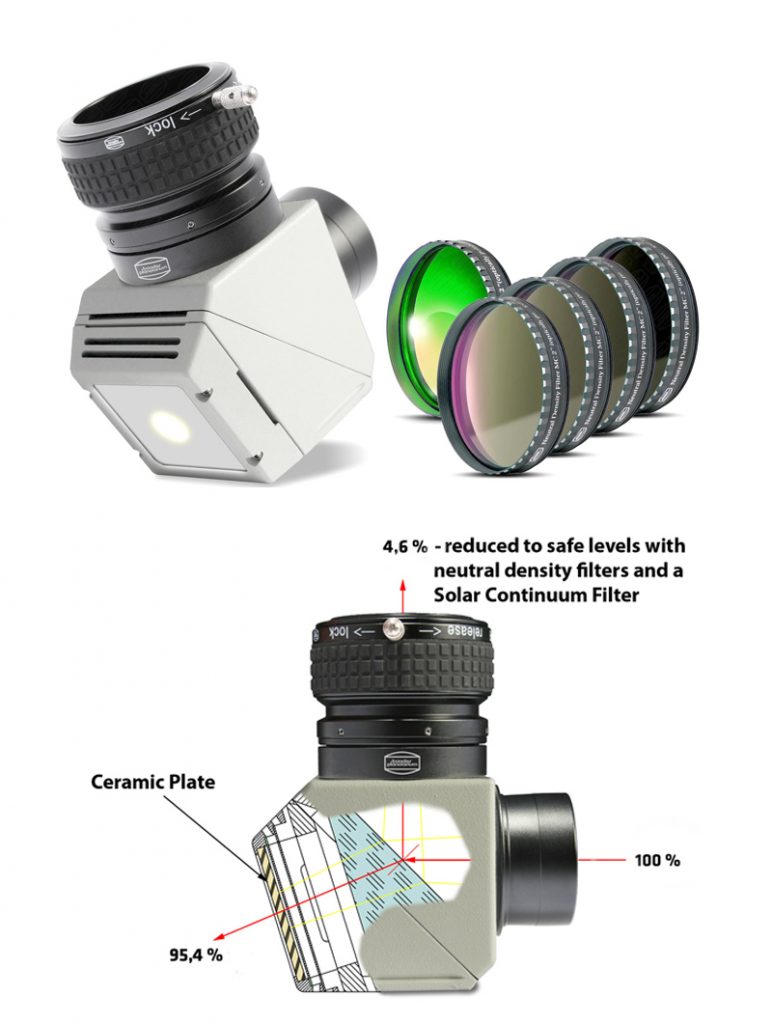
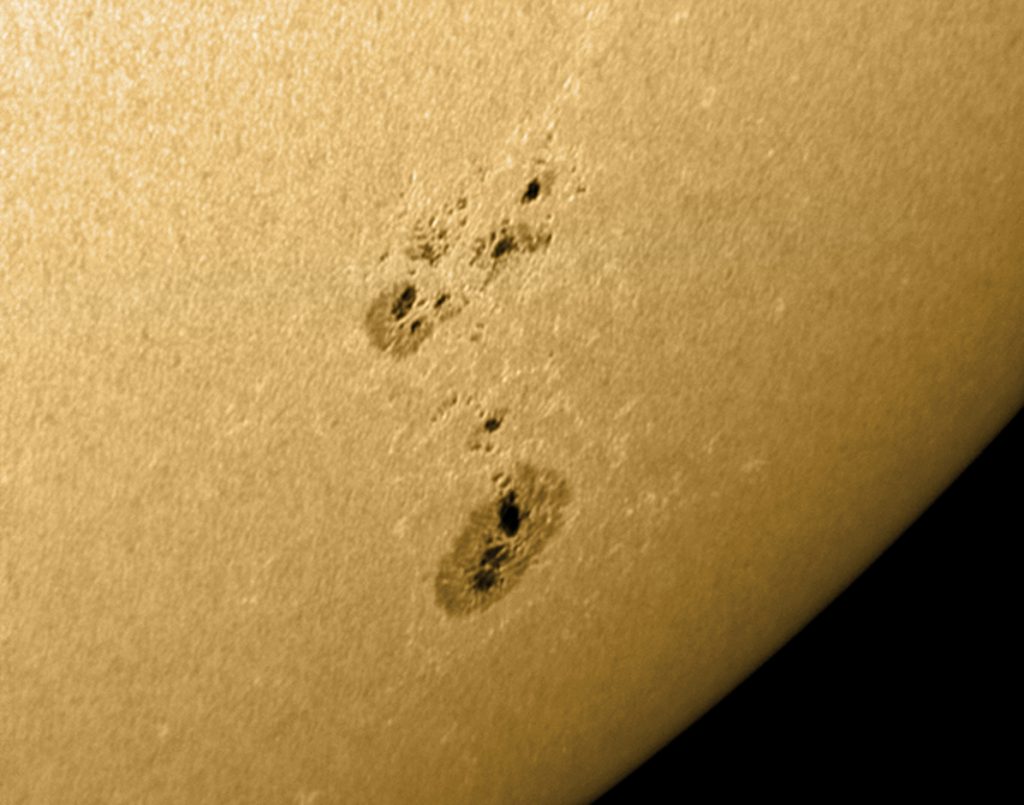
The highest quality imaging is obtained when a Herschell Wedge is used to reduce the Sun’s brightness. These can be purchased from a variety of manufacturers but these, sadly, are not cheap. I have equipped the 102mm refractor with a Baader Solar wedge (~£400) which includes a lime green ‘solar continuum’ narrow band filter which is said to improve the contrast within the images.
There is no doubt that this is an excellent method as I hopethe image below testifies.
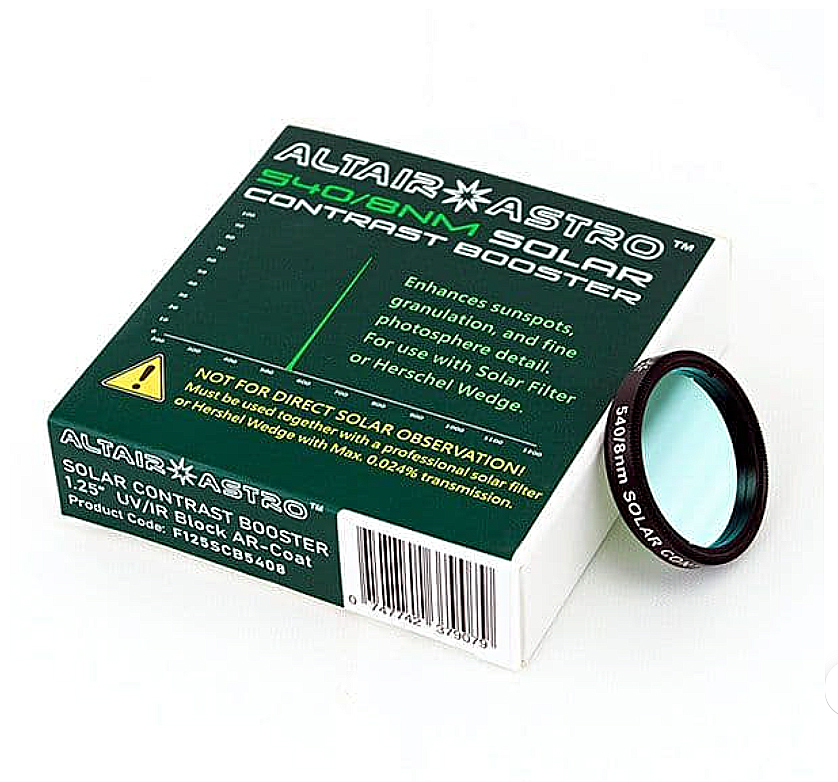
Altair Astro Solar Continuum filter.
Altair Astro can now provide a ‘Solar Contrast Booster’ which works by filtering out UV, IR and visual wavelengths except for a narrow 8nm FHWM green band at 540nm. This greatly increases the contrast of solar features when viewed with the naked eye, colour or mono camera, revealing more detail around sunspots and granulation (fast-developing solar convection cells) in the solar photosphere. At a cost of £60 for a 1.25″ version, it could be used with a Baader Solar Film filter or with, for example, the AltairAstro Herschel Wedge. [A 2″ version should soon become available.]
H-alpha Imaging
This requires a specialised solar telescope as those described in great detail in the digest article ‘H-alpha Solar Telescopes ……’ which are, sadly, quite expensive though the Coronado PST can be bought for ~£780 and, though only having a 40mm aperture, can produce really excellent images as that shown below.
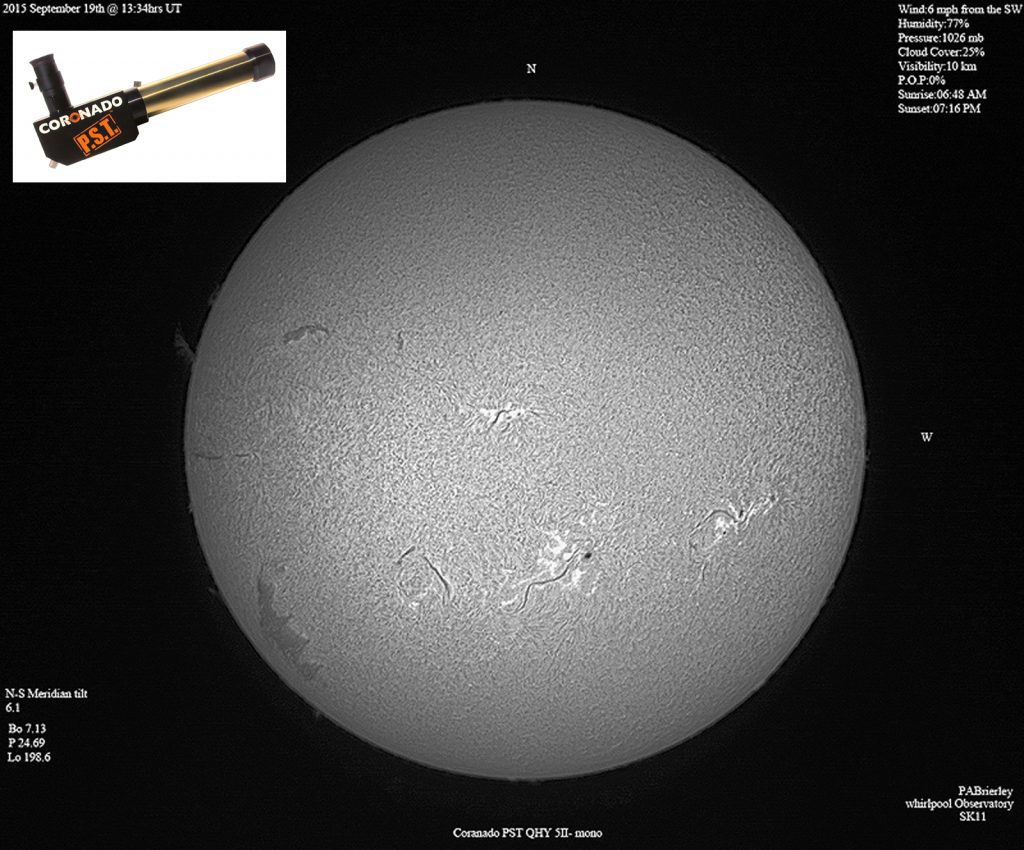
The PST is the most widely used H-alpha telescope followed by larger aperture solar scopes made by Solarscope in the Isle of Man and Coronado and Lunt in the USA. I have had the opportunity to use a number of H-alpha telescopes as I will describe below after a summary of the way in which etalons are tuned to select out the Hydrogen Alpha spectral line.
Etalon Tuning
The tuning of an etalon depends on the effective spacing of two very closely spaced glass plates. The effective spacing depends on the air pressure which determines the refractive index of the air within the etalon plates. As this varies there must be some way of adjusting the spacing to cope with changes of air pressure. One way is to very slightly tilt the etalon away from the position when it lies at right angles to the incoming wavefront. As the tilt is increased the effective spacing is increased – rather as crossing a road at a slight angle rather than straight across increases the distance to cross. This method is used in Solarscope range and is often used when double stacked etalons are used as described below. The Coronado range of solar scopes use a patented ‘RichView’ tuning method in which the etalon plates are compressed together to bring the etalon on band. This does mean that, of course, that the etalon plates remain parallel to the incoming light path. The third method used by Lunt is called ‘Pressure Tuning’. Using a cylindrical piston to one side of the telescope, the air pressure between the etalon plates is adjusted to alter its refractive index and so control the effective spacing of its glass plates which are, again, perpendicular to the incoming wavefront.
Solarscope SV-50
Some years ago, during the last solar cycle I was loaned one of these, rather expensive, solar scopes. Solar scopes are often found to have ‘sweet spots’ within large area images but I found the SV-50 to give a beautifully uniform image as seen below.
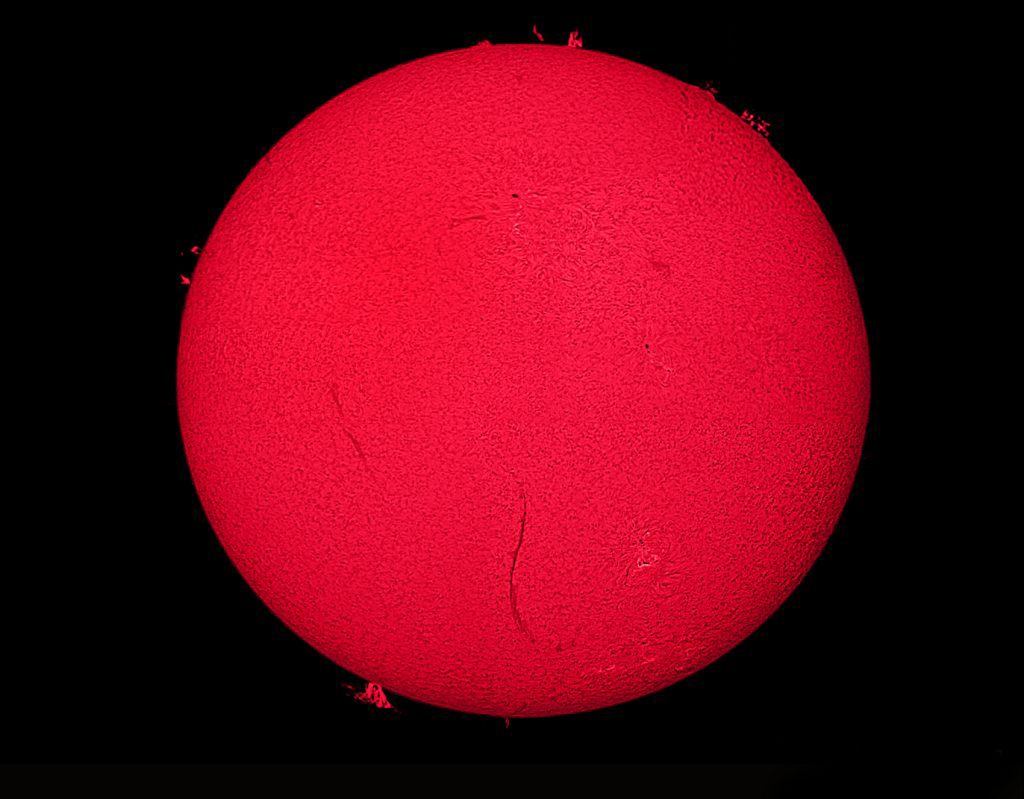
Coronado Solar Max II60 mm Solar Telescope
This uses the RichView tuning system which is very easy to adjust making it easy to switch from observing the sunspots on the surface to prominences at the edge which require a slight shift in wavelength. I used one for some time during the last solar cycle and was impressed with the high contrast images which it produced. As with many solarscopes it did have a sweet spot so full disk imaging was a little difficult. I passed this on to a colleague who is having great success with it and has just purchased an external dual stack etalon.
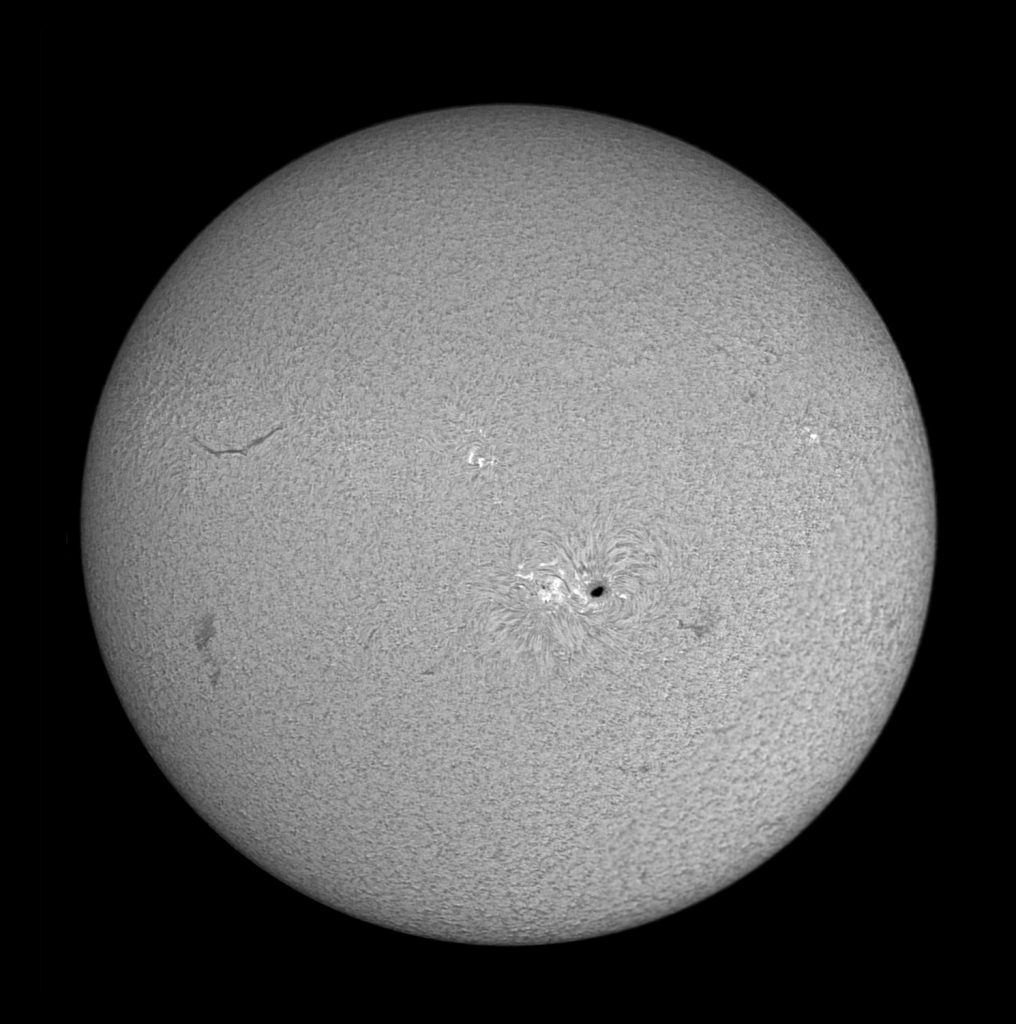
I should say that the most stunning view of the H-alpha Sunthat I have ever seen was using a double stacked Solar Max II from the SaharaDesert.
Lunt LS60THa/B1200CPT Pressure Tuned Solar Telescope
I was able to acquire at a reasonable price one of these telescopes towards the latter part of the last solar cycle but, due to the long solar minimum, it has not had too much use until recently. Compared to the Coronado, I feel that its images show less contrast (which can be fixed in post processing when imaging) but gives a slightly more uniform brightness across the field of view – so, perhaps a draw. The piston control of the etalon tuning is somewhat stiff (re-greasing the threads may well help) and whilst this is no problem when mounted on a substantial mount, it can be if a lightweight mount is to be used. I have to say it is a beautifully made piece of engineering and employs a quite reasonable Crayford focuser, though a Starlight Instruments Feather-Touch focuser can be specified at additional cost or added later. One common fault which did appear on mine is that the green blocking filter at the entrance of the diagonal became covered with a white substance. I was easily able to clean this off using lens cleaning fluid and it has caused no visible problems. Lunt will provide a replacement filter if required but it is sensible to keep both Coronado and Lunt diagonals in a dry container including a desiccant pack.
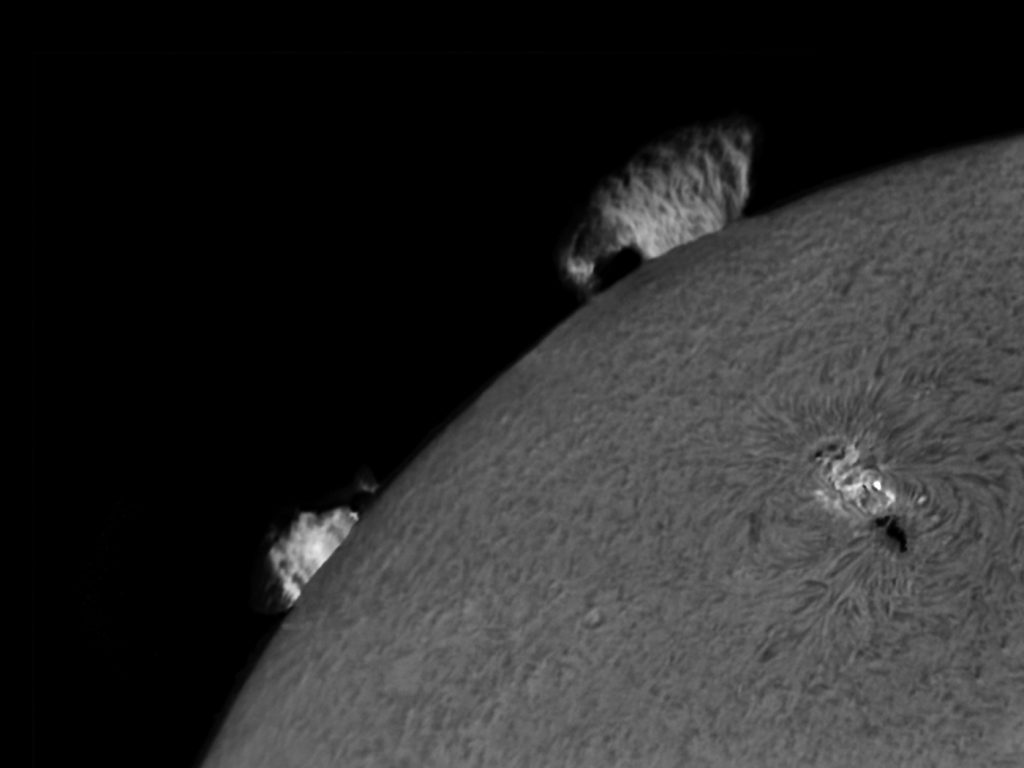
Double Stacking
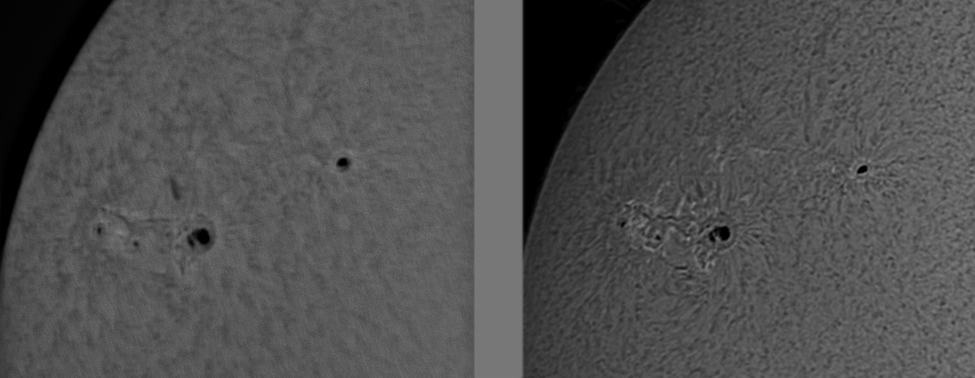
To enable ‘double stacking’ I have just acquired an external tilt-tuned 60mm etalon which screws in front of the objective lens. This is almost twice as expensive as the Coronado 60mm etalon so making the Lunt combination significantly more expensive than the Coronado combination. The image below shows a comparison image taken with the scope used in single and double stacked mode. In double stack mode the image is, as expected, somewhat darker but this is no problem when imaging and, if a dark shroud is placed over the head, when observing. The contrast is significantly greater and faculae which are barely visible in the single stacked image become far more prominent. In this comparison, though, I felt that the single stack image has a little more delicacy. I had little time to carry out the double stack imaging so can probably do better. I am happy that the significant cost (even at half price) has been worth it.
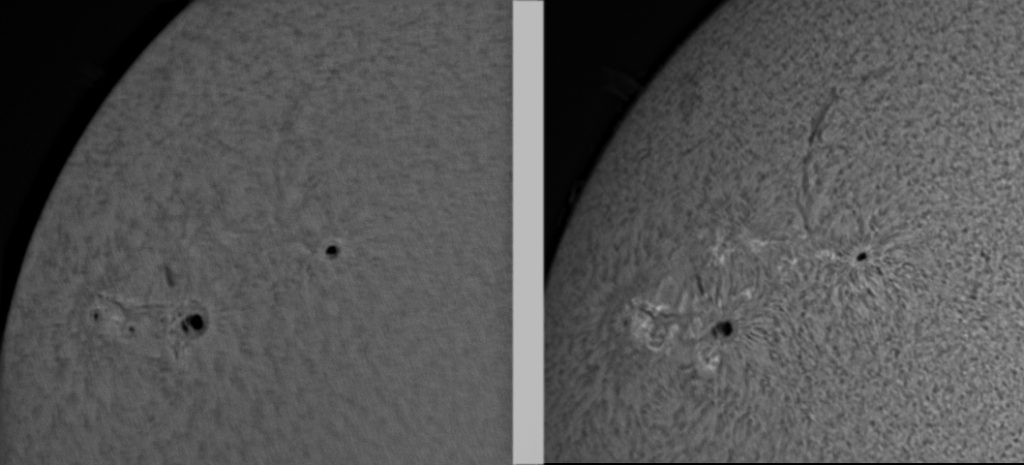
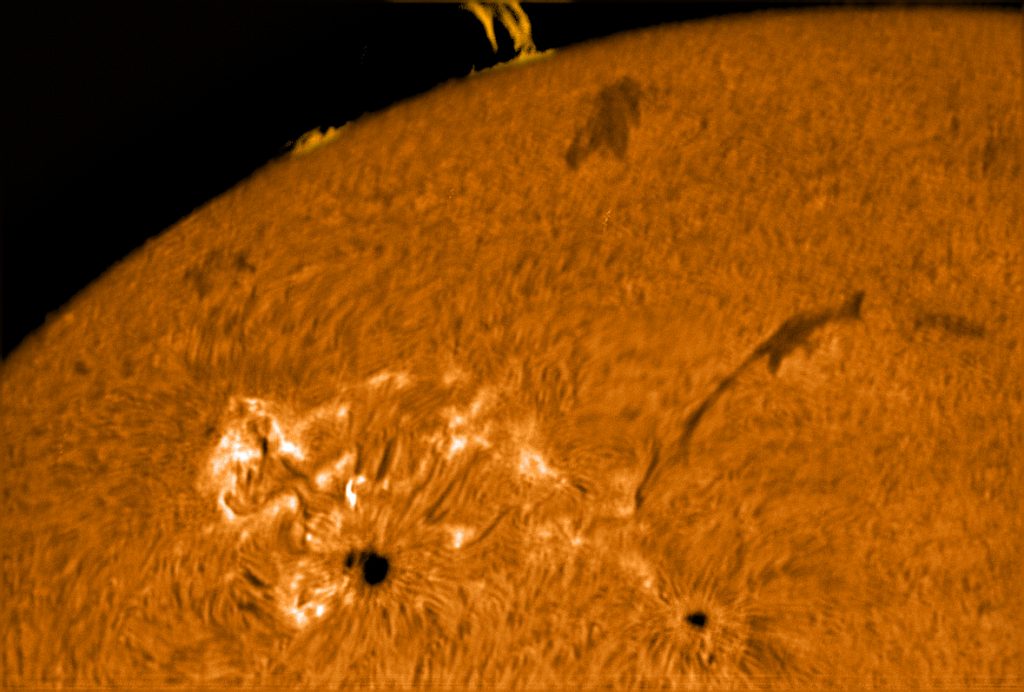
It is a little frustrating that my monochrome Point Grey Chameleon does not have a large enough sensor to cover a full disk so a composite image has to be made. Webcams with a larger sensor than mine do appear to be very expensive. Perhaps I can organise a small focal reducer to enable the sensor to cover the full disk.
A Lunt 60mm Tilt-Tuned Solar Telescope.
Given the 60mm etalonbought to double stack the LS60THa and the 2 inchdiagonal including blocking and secondary H-alpha filters one can use thecombination with any suitable refractor to make a 60mm solar telescope. I havebeen able to incorporate the etalon into the body of an 80 mm aperture, 400 mmfocal length, refractor to give an alternative to the pressure tunedsub-aperture etalon system in the LS60THa. This was as an experiment simply to compare the results of imaging withthe two etalon systems. Sadly, eventhough this is a 400 mm rather than 500 mm telescope, the rectangular sensorstill cannot quite cover the full solar disk.
